Think your buds are ready after drying, but still smell like hay or taste bland?
Many growers reach this stage and wonder what went wrong. The truth is, drying alone doesn’t finish your harvest. Curing is the often-overlooked step that transforms raw buds into potent, smooth-smoking, terpene-rich flower.
Done right, it deepens aroma, sharpens flavor, and enhances the overall high. Done wrong, it can ruin months of work. This guide breaks down how to cure cannabis properly using proven techniques, tools, and insider tips.
Let’s dive in.
What Is Cannabis Curing?
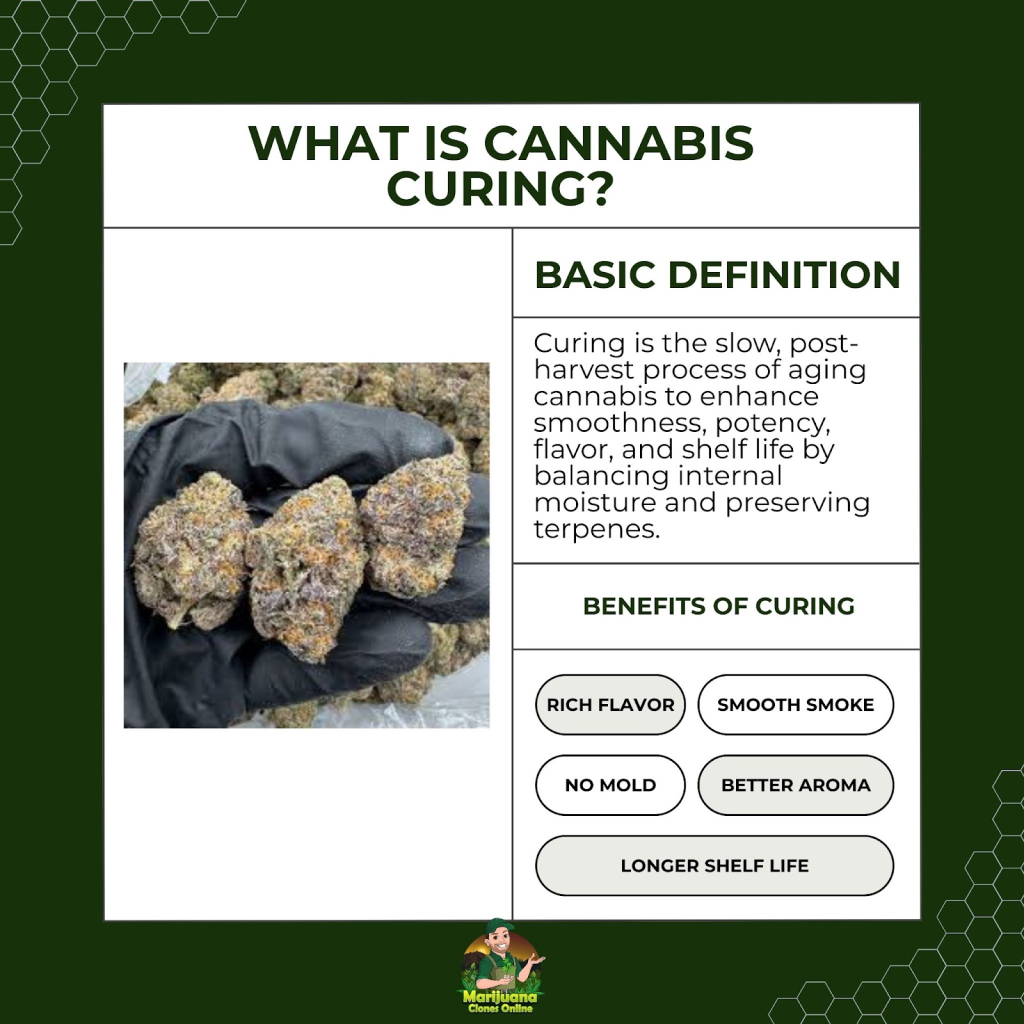
Cannabis curing is the controlled process of aging your harvested buds to bring out their full potency, aroma, and smoothness. It begins after drying and gives the plant time to break down leftover chlorophyll, stabilize cannabinoids like THC, and preserve fragile terpenes that give each strain its unique scent and flavor.
Curing happens in a sealed environment where moisture can redistribute evenly within the buds. This controlled environment protects the flower from light, air, and temperature swings while allowing chemical changes to finish developing. Without curing, buds often taste harsh, smell grassy, and burn unevenly.
Curing vs Drying: Know the Critical Difference
Drying and curing might sound similar, but they play very different roles in your post-harvest process. Drying is the first stage. You hang or rack your buds to reduce surface moisture until the outer parts feel dry to the touch. This step is all about preventing mold and getting your flower ready for storage.
Curing begins after drying ends. You move your trimmed buds into sealed containers and give them time to age slowly. This is where the real transformation happens. Moisture from inside the flower continues to move outward, and that slow exchange lets chlorophyll break down and terpenes mature.
If you stop at drying, your buds will often smell grassy, taste sharp, and burn hot. Curing rounds out those edges. It brings out the full flavor, softens the smoke, and helps preserve potency. You can think of drying as stabilizing your harvest, while curing is what brings it to life.
Doing both the right way is what separates flower that is simply dried from flower that people remember.

Benefits of Cannabis Curing
When you take the time to cure your cannabis properly, the payoff is clear. This step elevates every aspect of your final product and gives your grow the finish it deserves. Here are the biggest benefits you can expect:
- Enhanced aroma and flavor. Curing allows terpenes to mature fully, bringing out the true scent and taste profile of each strain.
- Smoother smoke. As chlorophyll breaks down, the harshness disappears. You get a cleaner, more enjoyable smoking experience.
- Greater potency. Cannabinoids stabilize and preserve better in a controlled curing environment, protecting THC from early degradation.
- Longer shelf life. Properly cured buds can hold quality for a year or longer without losing their strength or aroma.
- Refined psychoactive effects. The high becomes more balanced and nuanced, with fewer jittery or uneven sensations.
- Improved appearance. Buds cure tighter and more evenly. Trichomes stay intact, colors pop, and your flower gains stronger bag appeal.
Step-by-Step Guide to Curing Cannabis After Harvest
Curing is not complicated, but it does require care and consistency. Each decision you make in this phase affects the final quality of your buds. You already worked hard to grow them. Now it is time to dial in the cure so the results match the effort.
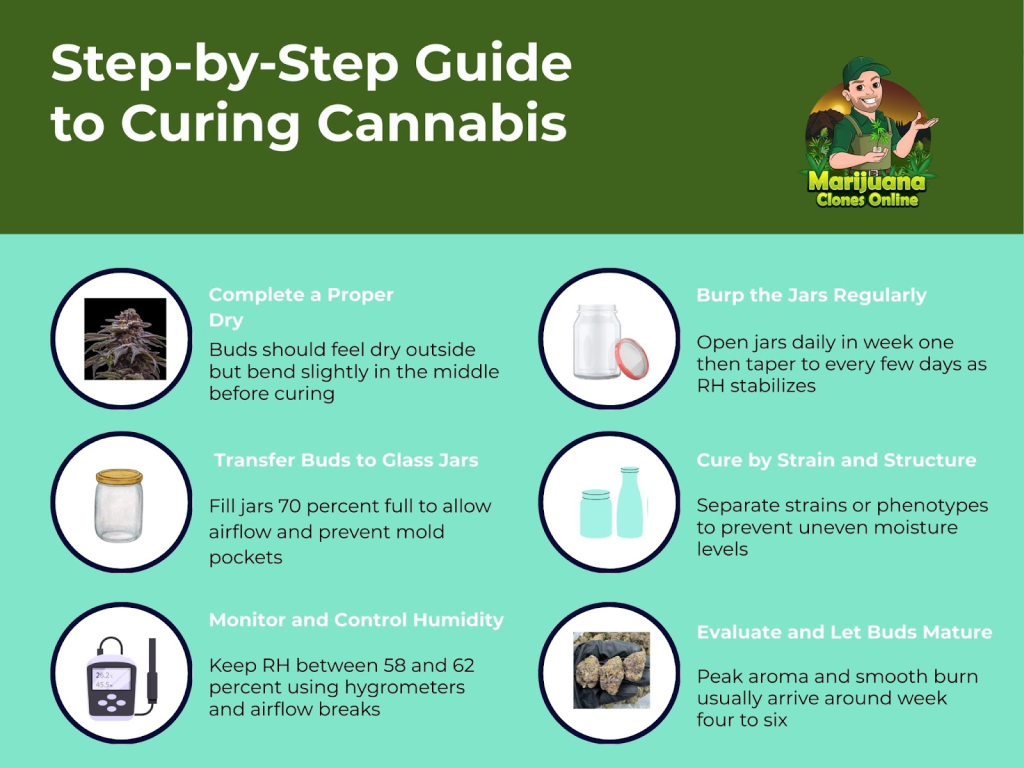
Step 1: Proper Drying Before Curing
Your cure only works as well as your dry. Start by trimming your harvested branches and hanging them in a room set between 60 and 70 degrees Fahrenheit, with humidity between 45 and 55 percent. This environment slows down moisture loss, so your buds dry evenly without becoming brittle.
You might have heard to snap the stems as a sign that they are ready. That method is hit or miss. Some growers have been burned by under-drying because the outer stem cracked while the core was still wet. Instead, feel for buds that are dry on the outside but still slightly soft when squeezed. A better approach is to use a hygrometer later in the jar, but this early touch test helps keep you on track.
Before jarring, consider using a paper bag or cardboard box to hold your trimmed buds for a day or two. This brief holding step helps sweat out extra moisture and makes the cure more stable from the start.
Step 2: Choose the Right Curing Container
Glass mason jars are the go-to for a reason. They are airtight, non-reactive, and easy to monitor. Choose a size that gives your buds some breathing room. Do not fill them to the top. Aim for about three quarters full so moisture can distribute evenly and air can circulate when you open the lid.
Some growers use Grove Bags instead of jars. These are designed with humidity control liners that maintain the right environment without needing to burp. They are great for simplifying the process, especially if you are curing larger batches or want fewer steps.
Avoid plastic containers. They can build static that pulls trichomes from the flower and may leach unwanted compounds into your buds over time.
Step 3: Control the Environment Inside the Jar
Once your buds are in jars, the goal is to keep the relative humidity between 58 and 62 percent. This range protects your flower from mold and gives terpenes the right environment to evolve. Store jars in a cool, dark place between 60 and 70 degrees Fahrenheit. Heat and light will degrade THC and flatten flavor fast.
Add a small digital hygrometer inside each jar to track conditions. Make sure yours is calibrated. You can test it by sealing it in a container with a salt slurry to see if it reads correctly. Many growers skip this step, then wonder why their buds seem dry or moldy when the gauge said everything was fine.
Humidity packs like Boveda or Integra Boost can help maintain stability, especially in dry climates or for beginners. They are not a cure all but can be a safety net for your cure.
Step 4: Burping the Jars Correctly
Burping means opening the jar to release built up moisture and exchange fresh air. During the first week or two, do this once or twice a day for five to ten minutes. After that, you can reduce it to every other day, then once a week as the cure settles.
There is a balance to strike. Open too often and you risk drying out your buds or exposing terpenes to too much oxygen. Not enough and moisture builds up, inviting mold. Pay attention to the smell when you open the jar. A clean, earthy aroma is a good sign. Ammonia or sharp, musty scents mean trouble.
If you notice buds sticking together or feeling damp, leave the jar open a bit longer during the next burp or spread them out on a tray for an hour before resealing.
Gentle rotation helps too. Turn the jar upside down and back upright before each burp so buds do not sit pressed together in one spot for days. This simple move prevents wet pockets and helps maintain consistency across the entire cure.
How Long Should You Cure Cannabis?
There is no one-size-fits-all answer for how long to cure your buds. What you are really aiming for is peak expression, where aroma, flavor, and potency hit their stride. That takes patience, and it depends on how you manage your environment along the way.
Recommended Cure Times
Two weeks is the bare minimum. Around that point, your flower will start to smooth out and lose that grassy edge. By four weeks, the flavors become fuller and the smoke gets noticeably cleaner. Most growers find the sweet spot somewhere between four and eight weeks.
If you are chasing top shelf results or preparing for long term storage, three to six months can unlock a richer terpene profile and deeper high. Cold curing at a steady low temperature with controlled humidity can stretch out the timeline and produce some of the smoothest, best aging flower you will ever try.
What Changes Over Time
The longer your buds stay in a stable curing environment, the more their character comes forward. Terpenes settle in, bitterness fades, and the aroma sharpens into something more reflective of the strain’s full profile.
Many growers report that the entourage effect also becomes more pronounced. That is when cannabinoids and terpenes work together in a more synergistic way, shaping the experience beyond what THC percentage alone can explain.
Can You Cure Too Long
Yes, you can go too far. After a certain point, usually around the six to eight month mark, the benefits taper off. While your flower might still be smooth and flavorful, some of the brighter terpenes start to fade. The high may become more muted, and potency can begin to drop.
If you are planning to hold your flower longer than a few months, store it in airtight containers in a cool, dark space. Some growers vacuum seal fully cured buds for long term aging, similar to how cigars are stored. This method helps preserve the cure but only works after the process is complete. Vacuum sealing too early will stall the cure and trap excess moisture inside.
Tools That Make Curing Easier and More Accurate
You already brought your plants this far. Now is the time to use every advantage available to lock in quality and protect your harvest. Here are the tools that make curing smoother, cleaner, and more consistent:
- Glass Mason Jars. These are the standard for good reason. They seal tightly, do not affect flavor, and let you inspect your buds without opening them. Use wide mouth options for easier access and airflow.
- Grove Bags. These specialized curing bags maintain ideal humidity on their own. You do not need to burp them, which makes them a strong option for larger harvests or low maintenance setups.
- Digital Hygrometers. Place one inside each jar to monitor relative humidity. Aim for 58 to 62 percent. Make sure your meters are calibrated before use so you can trust the readings.
- Humidity Packs. These help stabilize humidity inside jars, especially in dry climates. They can also help revive slightly over dried buds. Use the right size pack for the amount of flower in each container.
- Curing Cabinets. A more advanced option, these insulated boxes or modified wine fridges let you control temperature and humidity with precision. Great for cold cures or high value strains.
- Tracking Sheets or Digital Logs. Record daily or weekly humidity levels, smell changes, and texture notes. Over time, this helps you dial in what works best for your setup and strains.
- Salt Calibration Kit. Use this to check your hygrometers before each cure. It is a simple tool that saves you from bad readings and ruined batches.
Common Mistakes That Ruin Your Cure
Even experienced growers can slip up during curing. It is a slow process that rewards consistency, not shortcuts. A single mistake in this stage can leave you with flower that smells off, smokes harsh, or loses its punch. These are the most common pitfalls to avoid if you want your buds to reach their full potential.
Over-Drying Before Curing
Drying too fast or too long pulls out the moisture your buds need to cure properly. Once they are brittle and crisp, there is no internal moisture left to redistribute. This stalls the chemical changes that curing depends on.
If you accidentally over dry your buds, rehydrating with a humidity pack may help recover some flexibility, but it will not fully reverse the damage. Prevent it by monitoring your drying room daily and using a proper temp and humidity range from the start.
Inconsistent Temps
A cure is only as stable as your environment. Fluctuations in temperature can degrade terpenes even if humidity stays within range. Keep your curing space between 60 and 70 degrees Fahrenheit and avoid placing jars near heat sources, windows, or cold concrete floors.
A steady environment protects potency and flavor better than trying to micromanage with gadgets in a room that is always changing.
Mold and Mildew
Nothing ruins a cure faster than hidden moisture that leads to mold. Watch for fuzzy white spots or an ammonia-like smell. These are signs that buds were too wet going into jars or that you skipped burping when it mattered. If you spot mold, remove affected buds immediately. Isolate the rest, spread them out to air, and reassess your process before continuing.
Light Exposure and Oxygen
Buds do not cure in sunlight. Light breaks down THC and fades terpenes fast. Always store your curing jars in a dark space like a closet, cabinet, or drawer. Also be mindful of how often you open them. Too much air introduces oxygen that speeds up degradation and dries out the flower before the cure finishes. Burping is important, but only when done on a consistent schedule and with care.

So, Is Perfecting the Cure is the Grower’s Edge?
Yes. Every step you take to dial in your cure gives you an edge that most growers overlook. You can grow fire genetics under perfect lighting, but without a proper cure, all that effort stays locked behind harsh smoke, flat aroma, or inconsistent effects.
Curing is not glamorous. There are no big yields to weigh, no new gear to unbox. What you get instead is quiet control: the kind that separates average bud from flower that gets remembered. Once you see what a well cured batch can do, you will never go back.
This part of the process is where great growers finish strong. It is the move that transforms raw potential into finished excellence.
Ready to take your grow to the next level?
Start strong by ordering premium cannabis clones from MCO, expertly phenohunted, pest-free, and shipped nationwide. Grow top-shelf flower like the pros.